How to Tag for BB
Before beginning to tag this season, please watch these short videos!

Preparation Checklist
Quality Standards
- Check Items Accepted chart.
- Check for Recalls.
- Clean, fresh, current styles only!
- Batteries included in ALL items.
Supplies Needed
- 65 or 67lb cardstock - NOT regular weight paper.
- Use WHITE (to donate unsold items that can't roll over) or your assigned color (to pick up unsold items).
- Tag gun, zip ties, packing tape.
- Ziploc bags (various sizes).
- Scotch tape to reinforce the tag corner before using a tag gun or hole punch.
- Order your supplies here.
Important Tagging Rules
- Typed Tags: REQUIRED! No handwritten tags.
- Descriptions: 3+ words required (e.g., Brand + Color + "Plaid Fleece Hoodie").
- QR Codes: NEVER cover with packing tape.
- Clothes pins: You cannot use clothes pins to attach items to hangers.
- Pricing: Refer to our Pricing Guidelines.
- Claim Tickets: Some large or high-value items need them. See the Claim Tickets section below.
- Zip Tie: Always your first choice when the item allows.
- Tag Gun: Use this if there is nowhere to loop a zip tie.
- Safety Pin: Your absolute last resort if a zip tie will not work and you do not own a tag gun.
- Packing Tape: Use only when a zip tie, tag gun, or safety pin will not work AND the tape will not damage the item (e.g., plastic toys).
- Blue Painter's Tape: Use only when a zip tie, tag gun, or safety pin will not work AND packing tape would damage the item (e.g., books or wooden puzzles).
Preparing Your Items
- Check the Items Accepted chart.
- Tag the items that get the most money first.
- Please check for your equipment on this recall list. We do not accept recalled items.
- We only accept quality, clean, and current items! Scrutinize & price each item as though YOU were going to buy it at a consignment sale.
- Check for stains, grease spots, tiny holes, pilling, fading, missing parts, wear at knees, etc. These are unaccepted and result in a $1 per unaccepted item fine.
- Clothing items must be current styles manufactured or purchased in the last 3-5 years.
- Test all items. Batteries must be included when needed.
- Count all pieces.
- Thoroughly clean & freshly launder all items including toys and baby equipment, including washing the fabric covers of car seats and strollers to make sure yours sell.
- A magic eraser is your friend!
- Lestoil and Dawn dish detergent work wonders on grease stains!
- Lysol wipes also are amazing to help clean toys and equipment.
- Fresh laundering and ironing will help sell your item.
Visual How-To Guides
As you tag, keep in mind that at Drop-off, we will ask you to hang your clothing items on our rolling racks and your loose items on tables, then we will check them for:
- 65-67 lb cardstock tags
- Correct cardstock color (or white to donate unsold items)
- Tag corner TAPED before using tag pin or hole punching
- Brand + Colors TYPED on tag (or item type for non-clothing)
- 3+ word additional thorough TYPED description (in addition to and not repeating brand & colors)
- Tag attached to item, not the hanger
- Zip ties used whenever possible, Ziplocs sealed with packing tape, all parts & pieces contained or zip tied to item
- Duplicate tags (an option on Print Tags page) on multiple piece sets
- QR code Kids EveryWEAR tags
- No stains/holes/worn toes on shoes
- Hangers facing like a ? question mark so opening is on the left
- Correct season items


Items that need Claim Tickets
Items larger than a laundry basket, or $25 and up non-clothing items, need Claim Tickets. We provide the Claim Tickets at Drop-off.
(Attach the tag with blue painters tape in advance of Drop-off, since you will staple the tag to a Claim Ticket. Never use packing tape for this.)
What needs a claim ticket:
- $25 & up purses, jewelry, slings & sunglasses - secured on our high-end rack
- $25 & up diaper bags & baby carriers - these get zip tied to a rack
- $25 & up breast pumps & Brezzas - Claim ticket everything $25 and up; only $80 and up gets zip tied to a rack.
- $25 & up baby monitors & sound machines
- All electronics (smartphones, smartwatches, Kindles, & tablets) - go on our secure rack
Typed Tags
- We require that all fields including descriptions be typed when you Print Tags for the BoutiqueBASH. It embeds the description as well as the price and discount in your QR code, and allows us to search your tag database to retag lost items properly.
- If you purchase a Seller Report, typed descriptions will reflect on the report if your tag scanned properly at checkout.


Descriptions on tags
- Complete 3+ word TYPED descriptions are REQUIRED on all tags for our events.
- You must include 3+ words in addition to the Brand (skip this field for books and write unknown if no brand known), and Color.
- If there are identifying features please add them, such as:
- plaid, striped, corduroy, flannel, fleece, thermal, hood, front pocket
- "the word on front of shirt"
- elastic waist extenders, cropped, fringed
- flare, skinny, straight leg, athletic cut
- Use the description space to "sell" your item.
- Include the lowest current retail price in the description if the item was pricey "RETAIL $xx" and it will help sell your item!
- Add a description that is not generic (for example, we get tons of American Girl dolls so add details to make it clear which doll is yours. Similarly, we get tons of "blue shirts" or "jeans").
- Customers get frustrated when they set their minds on an item and we can't match the lost tag to it.
- We also want to ensure that tags can't be swapped accidentally when items are tried on.
- If you do not type ample 3+ word descriptions on ALL TAGS enough that we can definitively match your tag to your item, your code will be changed to a drop and go code with 60% sale earnings rather than 65%.
- Please include GIRL/LADIES/BOY/MENS/UNISEX on clothing tags as it is hard for the Fitting Room crew to rehang items without that information.
- Size is not needed for non-clothing items but you can use that space for other info if you'd like.
- Puzzle & game tags should include age range. Count pieces carefully & mark tag "COUNTED-COMPLETE"


General Tag Information
- Refer to our Pricing Guidelines as you tag.
- We do not accept tags from other sales, only tags printed on our websites.
- You will be assigned a unique code for Kids EveryWEAR events which is embedded into a QR on our tags.
- Your code and tag color will not change unless you switch to We Tag. Your code and tag color for We Tag are different than your code and tag color when you tag.
- If your items are leftover from other sales or previous Kids EveryWEAR events, you must retag them to reduce price and discount. Do not bring them back at the same price/discount.
- If you tagged items for a previous Kids EveryWEAR event (KE, EE, or BB) and didn't consign at that event, you can bring them to a future Kids EveryWEAR event.
- Don't make these Tagging Blunders!
- If your item needs a Claim Ticket (items larger than a laundry basket or $25 and up non-clothing items that you want secured in our high-end area), attach the tag with blue painters tape or a zip tie at home, not packing tape, because you'll staple the tag to the Claim Ticket we provide at Drop-off. Even bikes need Claim Tickets. Strollers and Wagons do not. Clothing never needs a Claim Ticket.

Tagging clothes
Attaching tags
- Tape the corner of each tag then hole punch if using zip ties.
- Tape the tag corner but don't hole punch if using tag gun.
- Tags must be attached with zip ties through the hole punch whenever possible.
- Zip tie to items through:
- Looped manufacture tag
- Button hole
- Belt loop
- Anywhere that the zip tie can loop and stay when the item is tried on!
- Test the zip tie after closing it to ensure you inserted it correctly and it can't pull open.
- Hang bras on hangers with safety pins, not zip ties, if they won't stay on the hanger. Do not bag bras. We prefer that bras be sold separately unless they are identical. If you are selling several bras as a set, the extra ones need Duplicate Tags (an option on our Print Tags page). See selling Tagging Sets below for tagging details.

Nowhere to attach a zip tie to items?
- A tag gun used through clothing seam is preferred over safety pins for tagless items with no place to use a zip tie.
- Safety pins used through clothing seam are a last resort when there is truly no place to attach a zip tie to a clothing item and you don't have a tag gun. Please don't pin through main fabric - it creates a hole.
- Please use TWO tag pins through the seam if you use a tagging gun.
- DO NOT push the tag pin or safety pin through the main fabric, only through a seam where it absolutely can't damage the item.


Tagging pants
- Attach the tag to the belt loop on right side if there is one.
- A pant hanger with clips is best if you have them.
- Pants should be hung full length, not folded over the hanger.
- Do not attach clothing to hangers using zip ties.
- You cannot use clothes pins to attach items to hangers.
If using a wire hanger:
- Pin the pants to the hanger shoulders, not the straight bottom edge, to keep them from sliding around and to display them best.
- Run the safety pin through the thinner pocket fabric
- Catch the TOP angled part of the hanger on the back
- Run the safety pin back to the front of the pants.
- Shake the hanger to be sure the pants won't fold.

Tagging sets
- Be sure both items of your set are the same size and brand; otherwise, please sell them separately! Items should have originally been sold as a set in order to be tagged as a set.
- Hang the shirt on the shirt hanger. Attach price tag to the 1st item. It should be clearly marked 2 pieces with a clear description of both items.
- Attach the pants to a 2nd hanger. Attach one of our duplicate tags (a specific tag option on the Pricing page) clearly marked 2 pieces with a description matching the 1st item's tag.
- Ziptie the 2 hangers together around the arms and neck of the hanger (not just the hanger necks) so the ziptie can't slide up and off the neck. Do not use rubber bands for this purpose as they will get separated by customers.
Details about tagging clothes
- All clothing including undergarments must be on hangers.
- Place all clothing on hangers with the hook opening such that as you face the item, the hook looks like a question mark "?".
- Snap all snaps and button all buttons and zip all zippers to ensure they are all accounted for and work properly and that the item will display well.
- Consignors want to try on items. DO NOT attach clothing to hangers unless the fabric is slippery and the item will slide off the hanger. Use safety pins if you think your item will slip off of the hanger easily. Never ziptie tag or item to hanger.
Clothing Sizes
- At BoutiqueBASH we have size rings for letter and # sizes.
- Type the actual manufacturer size letter or # on your tag unless it says a range.
- Items with a size range:
- Compare the item to other items and mark them "tag says xx - fits like xx" as the size and place it with that size.
All categories and rack locations are shown on our Drop-off page.

Tagging items with multiple pieces that could get separated
- Attach price tag to the 1st item. It should be clearly marked 2 pieces with a clear description of all items sold as a set.
- Attach a duplicate tag to all other pieces of the set (Duplicate tag is a specific tag option on the Pricing page) clearly marked with the same # pieces with a description matching the 1st item's tag.
- Ziptie the items together if possible.
- If pieces of the set get separated, the duplicate tags help us match them back up.
- If another consignor is selling the same items, your duplicate tags help keep your set together.

Tagging Accessories
- Items sell best when not in bags so customers can examine them.
- Zip tie items together when possible and attach tag with zip tie.
- Most accessories hang on pegs at the sale, so a zip tie makes for an easy way to hang them on pegs.
- Use a tag gun if you have one or a safety pin on items if there is no place to attach the zip tie. Safety pins are a last resort as they can easily be removed.
- For items that must be grouped in a bag, put these in Ziplocs and seal with clear packing tape. Attach the tag with a detailed description of bag contents to the outside of the bag with a ziptie.
- Do not tape over the QR code if you must tape the tag onto items.
- Belts - Do not put belts in bags but add a zip tie to hang on hooks.
- Headbands and other accessories - do not put in bags but add zip tie to hang on hooks.
- High-end sunglasses need Claim Tickets (provided at Drop-off).

Tagging Jewelry, Hats, Purses, etc.
- Some jewelry hangs on hooks at the sale.
- Zip ties attached to jewelry items help them hang well.
- Attach tags to jewelry with zip ties such that if the jewelry gets unclasped, the tag won't fall off.
- You can attach jewelry to cardboard and insert in a ziploc, "laminated" with packing tape, or the original earring plastic if you have it.
- Attach the tags to purses, clutches, and wallets with a zip tie to the zipper or to a ring or strap that can't be removed.
- Purses priced at $25 or higher will need you to add a Claim Ticket at Drop-off and we will hang those on specialty racks for you.
- High-end jewelry can also be Claim Ticketed at Drop-off.
- Hang all muslin blankets, baby carriers, slings, and diaper bags on hangers. Items priced at $25 or higher will need you to add a Claim Ticket provided at Drop-off and you will zip tie the item (not its hanger) directly to the racks.


Tagging Shoes for the BoutiqueBASH
Please read carefully - shoe tagging for BoutiqueBASH is different from our other sales to allow for a high-end shopping experience.
General Shoe Requirements
- Shoes must be clean, like-new, and free of visible wear.
- No scuffed toes or worn soles.
- Magic Erasers or Doodlebug pads can remove light scuffs.
- Wash sneakers per manufacturer instructions and air-dry outside only.
- Do not use a dryer - heat can separate soles.
- Crocs and Chacos wash well in the washer; air-dry only.
- Do not place shoes in Ziploc bags; customers need to try them on and bags become separated.
- Reinforce tag hole punch area with two layers of clear tape before hole-punching, as shoes are heavy and tags can rip. Do not cover the QR code with tape.
Shoe Boxes
- Boxes can ONLY be included with BRAND NEW shoes.
- Do not include boxes for shoes that have been worn, even if like-new.
- Attach the main tag to one shoe, not the box.
- If including a box, print a duplicate tag and attach it to the box. Duplicate tags are an option on the print-tags page.
Number of Tags & Pieces
- One (1) tag per pair of shoes.
- Shoes can be marked as 1 or 2 pieces; we recommend marking 1 piece.
- Do not place a price tag on each shoe; only one tag per pair.
How to Attach the Tag - Adult Shoes
- Adult shoes should NOT be secured together for BB but should be for EE. This allows customers to try shoes on easily.
- Preferred attachment methods (in order):
- Zip tie the tag directly to one shoe (strap, eyelet, seam, or other secure point).
- Blue painter's tape can be used to attach the tag to the bottom of one shoe only if there is no other way to attach the tag. Tape all edges securely if you must use tape. Do not cover the QR code. If you must attach the tag with tape, add your consignor code on blue painter's tape to the bottom of each shoe.
- Shoes do not need a duplicate tag.
How to Attach the Tag - Children's Shoes
- Children's shoes should be secured together with zip ties.
- If children's shoes cannot be zip tied, use a medium or large black binder clip to clip the shoes together. To prevent the clip from damaging or indenting leather and delicate materials, place a small piece of felt or a folded napkin between the clip and the shoe.
- Blue painter's tape can be used to attach the tag to the bottom of one shoe only if there is no other way to attach the tag. Tape all edges securely if you must use tape. Do not cover the QR code. If you must attach the tag with tape, add your consignor code on blue painter's tape to the bottom of each shoe.
- Attach the tag to the zip tie through a hole not a strap, such that it can't be removed or slid off the shoe.
High-End Shoes & Claim Tickets
- Only shoes priced at $100 or higher require a Claim Ticket added at Drop-off. *This is different from KE and EE!
- High-end shoes can be placed on the sales floor by size or on our Secure High-End Racks at Drop-off.
Shoe Tag Descriptions
- We get duplicates of styles at our events. Please include a very detailed description including color, model, heel height or sole type, or distinguishing features to ensure your tag stays with your shoes.


Tagging Books
- At BB, we only accept NEW board or picture books, no chapter books.
- Book tags should say BOOK (it fits nicely on the COLOR line) and Title. You can also add "Hardback" or "Softback" if you'd like.
- Attach tags to books well with blue painters tape around all 4 sides. Please do not use packing tape.
- Please do not group multiple titles in a bag. Tag books separately.
- If books came in a set, wrap the boxed set with Saran or blue tape and attach tag.
- Books must be new.
- Cover the book's original barcode with painter's tape. This helps us scan the QR code and NOT the original barcode!
- Attach the tag with painters tape around all four sides securely but don't cover the QR code.

Tagging Puzzles & Games
- Before taping boxed items shut, count the # of pieces and write "all pieces included" on the tag. Blue painters tape is ideal for sealing these as it is less likely to tear delicate surfaces. Even if you think it is new, it is often the case that pieces are missing. Please count the pieces!
- Be sure to wrap wooden puzzles in plastic wrap first before taping or tape ruins the front of the puzzle! Seal the plastic wrap with clear packing tape, but be sure the packing tape does not come in direct contact with the puzzle! 2-gallon Ziplocs also fit puzzles well and help prevent damage.
- Puzzles, games, and all multi-pieced items MUST be complete. Assemble them or count items to verify completeness, then mark "all pieces included" on tags and seal to prevent loss.
- If an item is in a Ziploc, please zip tie the price tag to the Ziploc and use packing tape to seal the Ziploc well.


Tagging toys & equipment
- Toys can get played with! Secure pieces carefully! Any piece that can be removed should be attached with packing tape when it will not damage the item or inserted into a bag and zip tied to the item.
- We cannot be responsible if your toy parts get separated.
- If multiple pieces are being sold together, secure them well in ziplocs that you securely zip tie to the item. Add duplicate tags (an option on our Print Tags page) to each item/piece that might get separated from the item with the price tag.
- Provide manuals and/or internet reviews for high-dollar items, especially if they have unique features. Secure them to items in a Ziploc bag.
- Add the retail price in the description to help "sell" your item.
- Open boxes to count pieces and to check content before sealing then mark tag "counted/complete."
- Packing tape and/or zip ties are usually ideal for toy items. Don't use packing tape over puzzles or stickers or boxes as it tears these items when removed.
- Do not tape directly to silicone items. Tape doesn't stick. Insert item in ziploc, seal with packing tape, tape tag to top edge of ziploc. Do not cover the QR code on the tag.
- Batteries MUST be included with all battery-operated items. See our Supply list to grab some off Amazon.
- Cribs, swings, and pack 'n plays MUST be set up by you!
- Fold up & zip tie electrical cords!
- Battery-powered ride-ons must have working batteries. Amazon sells them. They sell well and you will recoup the cost of the battery and more if you order a battery to sell your ride-on!
- Seal all ziplocs with packing tape and zip tie ziplocs to the main toy if they are part of a set.
- It helps to "laminate" ziplocs with packing tape so little hands don't rip them open.
- Do not attach parts with blue painters tape as kids will pull them off.
- Some items work well inserted in large clear thick trash bags, zip tied shut.
Tagging Other Items
Comforters, Crib sets/Bumpers, Baby Blankets, Bibs, Swaddles, etc.
- Muslin blankets should be on hangers.
- We do not accept crib bumpers. We accept approved brands of all bedding and mesh bumpers.
- If you can't hang new blankets, we have baskets for them.
- We prefer bibs NOT to be in bags, so people can see that they do not have stains. Use a tag gun or zip tie to attach multiple cloth bibs together.
- Comforters and sheets can be folded and wrapped with twine or curling ribbon; zip tie the tag to the twine.
- Sheet sets can be inserted in a ziploc but because people like to feel them, safety pinning them or wrapping with twine works well.


Tagging high-end boxed items
- We ask that you claim ticket and secure all High-end Items at Drop-off.
- We will supply the Claim Tickets.
- At home, insert your small high-end items in a Ziploc.
- It helps to "laminate" the ziploc with packing tape so it can't be torn open.
- Attach your tag with a zip tie.
- We will help you transfer the tag to the Claim Ticket at Drop-off.
For boxed items that need Claim Tickets:
- Run zip ties around one direction.
- Run zip ties around the other direction, running under the first set of zip ties on the top and over the first set of zip ties on the bottom of the package.
- Attach the tag with a zip tie.
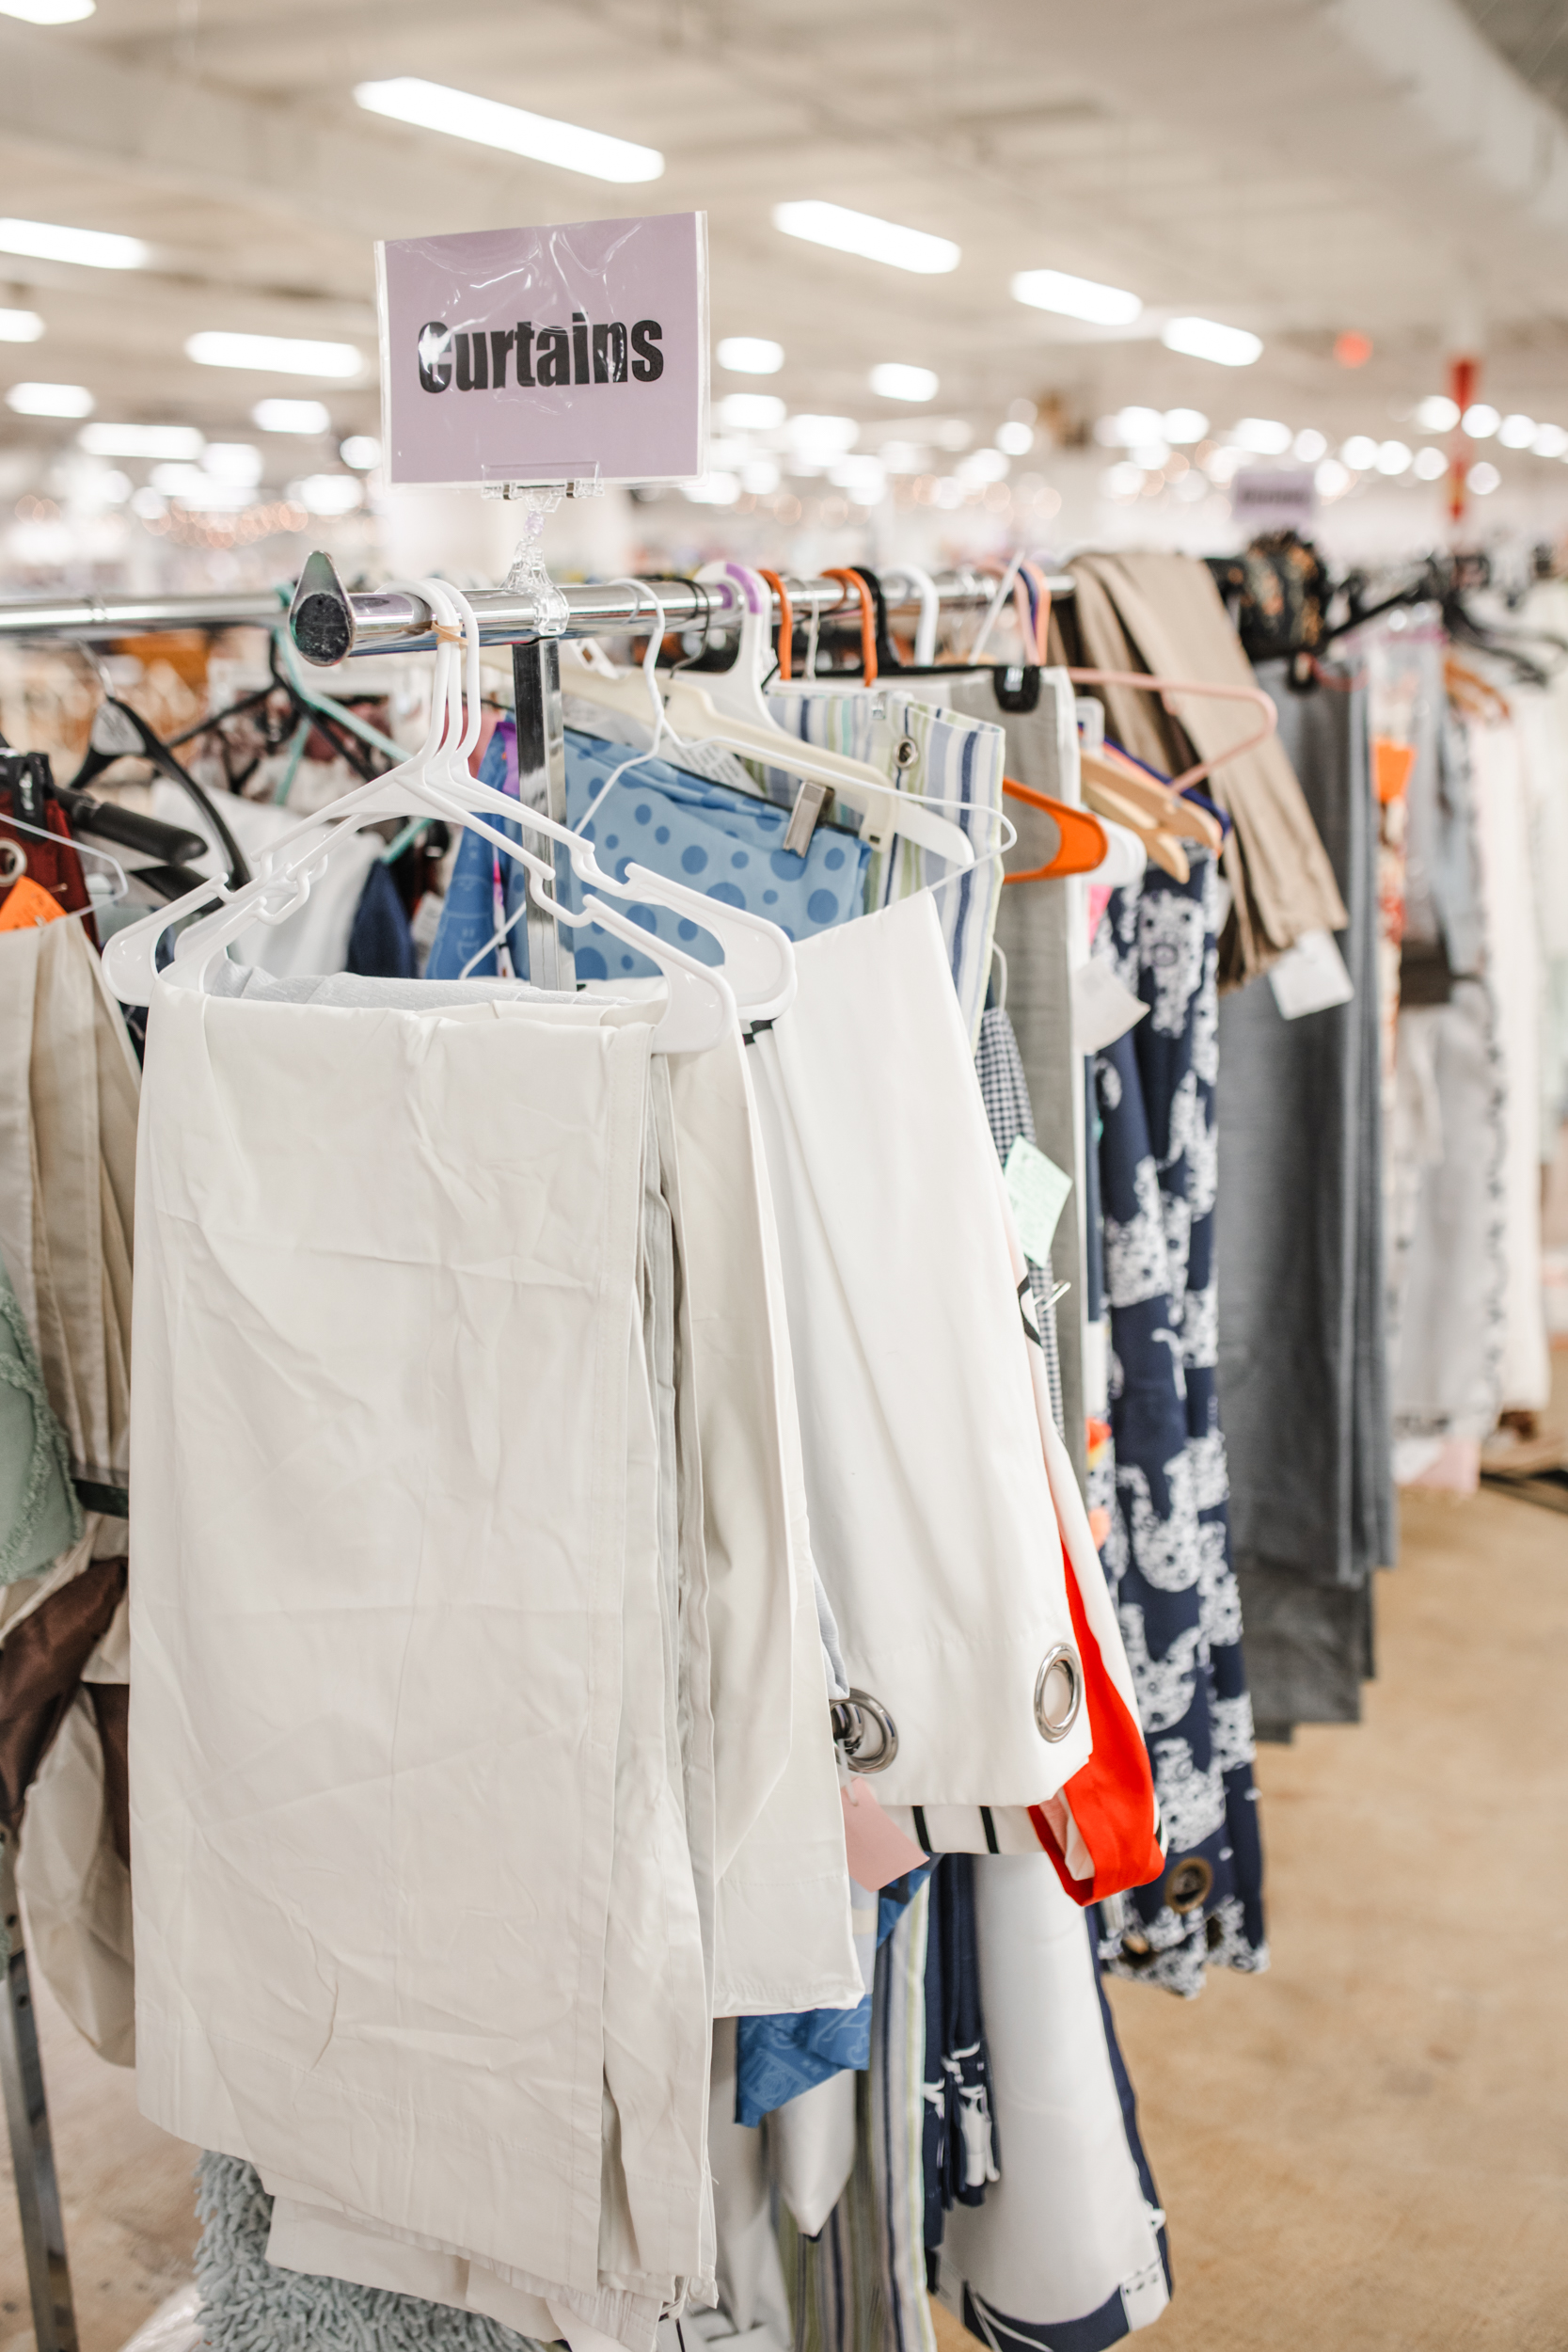
Tagging curtains
- Measure the length x width and write or type it in tag description.
- Attach tag to mfr label if possible or to corner of curtains, tablecloths, and throw blankets.
- Fold so the curtains, tablecloths, or throw blankets are long and narrow and fold over a heavy wooden or thick plastic hanger or hang on heavy adult pants hanger.
- Use a duplicate tag (from our tag options) for extra panels that can get separated.
- There are bins for new with tag packaged curtains, tablecloths, and throw blankets.
- All curtains, tablecloths, and throw blankets that are not new in package must be hung.

Tagging Items in boxes or cases
- Place loose contents in a Ziploc, seal it with packing tape so shoppers can see everything, then zip tie the tag to the box or case.
- Boxed puzzles: count the pieces, mark the tag "complete," wrap in Saran, then seal with packing tape (don't let tape touch the puzzle). Zip tie the tag on.
- Important: If your item is NOT BRAND NEW, do not put it in its original box unless you label it NOT NEW on the tag. Customers are frustrated when they get home and find a used item in a box. All boxed items should say NEW or NOT NEW on the tag.

Tagging Car Seats & Bases
- Write the EXPIRATION date of your car seat on the tag front with a red Sharpie.
- Car seats must not expire within 6 months of Drop-off.
- Zip tie the base to the car seat.
- If you have 2 bases, you can sell the extra separately.
- You will be charged an additional $10 fee if you bring an expired car seat. We will destroy the expired car seat and not return it.
These items need to be on hangers
Remember to make the hanger hook look like a ? when looking at the front of your item!
- All clothing
- Bras
- Baby blankets
- Baby carriers
- Tablecloths
- Table runners
- Grocery cart covers
- Nursing covers
- Curtains
- Shower curtains
- Changing Pad covers
- Diaper Pail Wet Bags
- Beach towels
- Pottery Barn chair covers
- Underwear
- Children's pretend play dress-up clothing
- Sleeping bags
Presort Clothing Categories for the BoutiqueBASH
- Print our Clothing Categories and a Clothing Rack Layout on our Drop-off page.
Ready to tag?
- Be sure to refer to or print our Pricing Guidelines as you tag.
- Next check out Tagging Blunders so you can avoid them!
- Carefully read Print Tags to understand printing options and instructions.